Delicious & Easy Protein Cookies Recipe
Get ready for incredibly soft, chewy protein cookies using just four main ingredients! They pack a serious protein punch without any flour or added sugar, making them perfect for This easy protein cookies recipe makes wonderfully soft, chewy treats with just four main ingredients. They pack a good protein punch without any flour or added sugar, making them a satisfying snack after a workout or a smarter choice when you’re craving something sweet, like This easy Chocolate Biscuits. It’s pretty cool how simple stuff you probably already have in your pantry turns into something so special!
Table of Contents
Protein Cookies Recipe Details:
- Prep Time: 5 minutes
- Cook Time: 12 minutes
- Total Time: 17 minutes
- Servings: 12 cookies
- Yield: 12 cookies
What You’ll Need for Your Protein Cookies Recipe
Getting the measurements right is key to getting that perfect texture for your protein cookies.
- 1 cup Peanut Butter (Make sure it’s a smooth, drippy kind, preferably with no added sugar, for best mixing)
- 2/3 cup Brown Sugar Substitute (A granulated, zero-calorie sweetener like erythritol or a monk fruit blend works great; you can use coconut sugar if you prefer, though it adds natural sugar)
- 1 large Egg (Bring it to room temp so it mixes in easier)
- 1/2 cup Vanilla Protein Powder (See Cook’s Notes for help picking the right one)
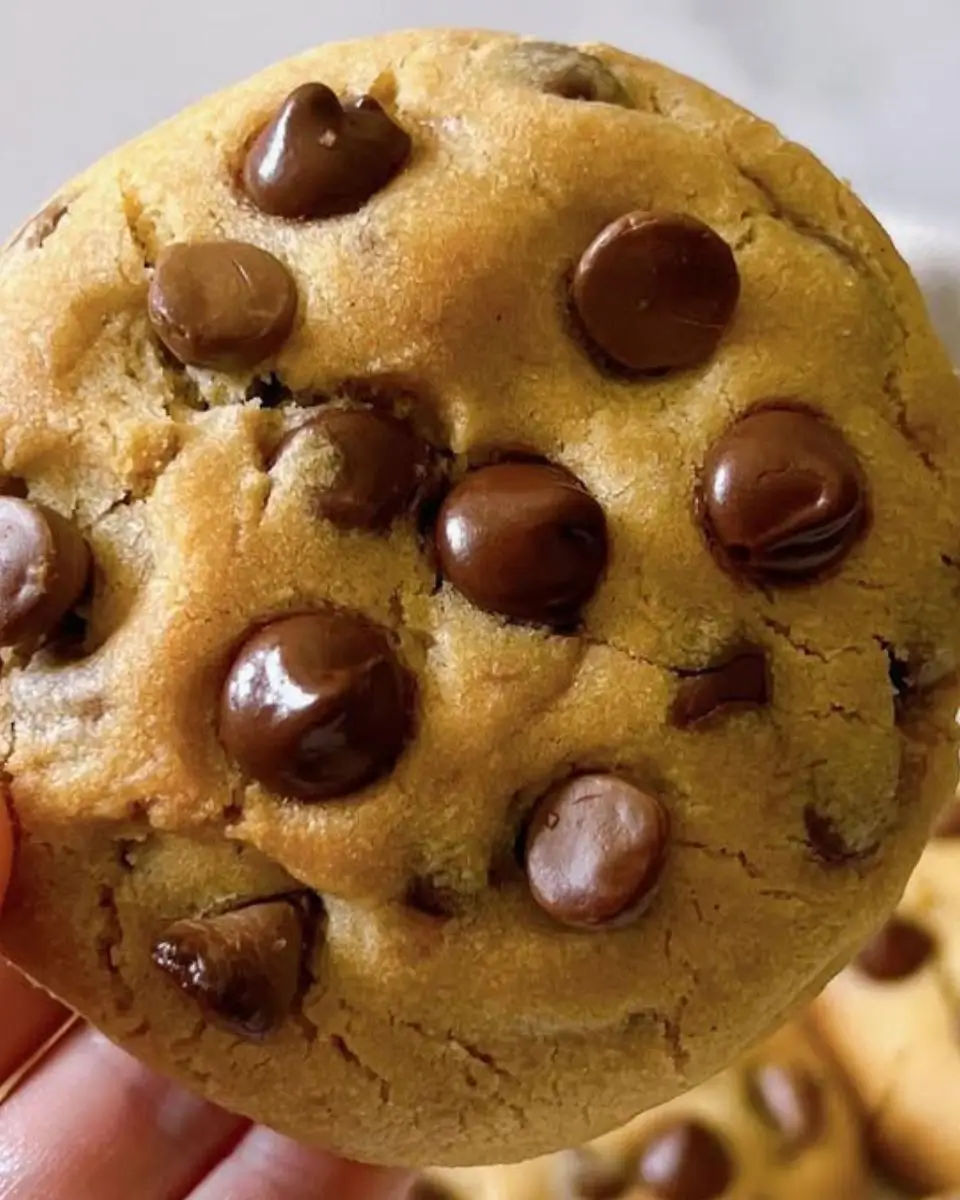
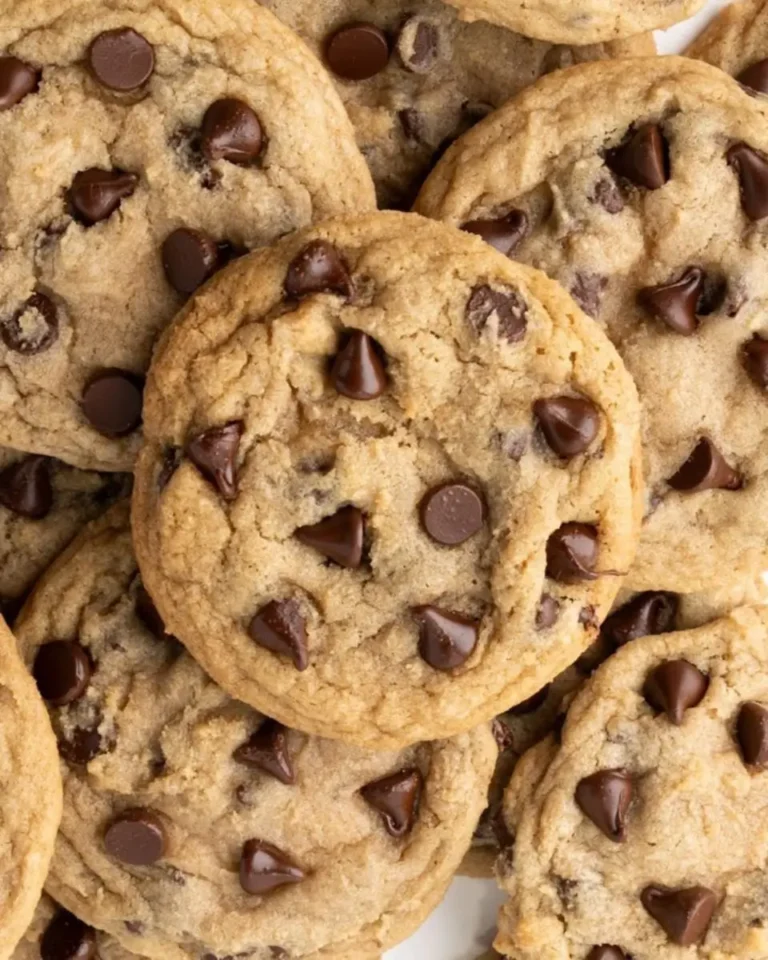
- 1/4 cup Chocolate Chips (Optional, if you want a little extra yummy factor)
Let’s Make Those Protein Cookies: Step-by-Step
Just follow these steps for the best results with your protein cookies!
- Prep Oven and Baking Sheet: Move your oven rack to the middle spot and preheat to 350°F (180°C). Line a regular baking sheet with parchment paper; this stops them from sticking and helps them cool nicely. Set aside.
- Combine Ingredients: In a medium bowl, scoop in the smooth peanut butter, brown sugar substitute, room temperature egg, and vanilla protein powder. If you’re using them, toss in the optional chocolate chips now too.
- Mix the Dough: Using a sturdy spoon or spatula, mix everything together really well. Keep mixing until everything is really well combined and you have a thick dough with no streaks left. It should be solid enough to pick up.
- Form the Cookies: Use your hands to grab chunks of dough and roll them into 12 roughly equal-sized balls. Place the dough balls on the prepared parchment-lined baking sheet, leaving some space between them.
- Shape the Cookies: Gently press down on each ball using your palm or the flat bottom of a glass to make that classic cookie shape, about 1/2-inch thick.
- Bake: Pop the baking sheet into your preheated oven. Bake for 12-14 minutes. The main thing is to look for the edges starting to turn golden; the middles might still look a little soft.
- Cool Properly: Take the baking sheet out of the oven. Let the cookies cool completely on the baking sheet. This is super important because they’ll keep setting and getting firm as they cool, which is how they get their perfect chewy texture. If you rush this, they might fall apart or be crumbly.
Tips for Making Them Perfect & Fun Ways to Switch It Up
A few tips to help you get the best results with your protein cookies:
Choosing Your Protein Powder:
The kind of protein powder you use really makes a difference in texture.
Casein Protein Powder: Often the go-to for baking because it tends to hold onto moisture better, making cookies that are softer and chewier.
Brown Rice Protein Powder: A good vegan choice; its slightly earthy flavor pairs nicely, especially if you use vanilla. It helps keep things soft.
Whey Protein Powder: Very common and low-carb, but whey can sometimes make baked goods a bit drier. If you use whey, be extra careful not to overbake! Make sure you like the taste of your powder, too, because you will taste it.
Don’t Overbake:
These cookies are best when they’re just a little bit underbaked when they come out of the oven. They get quite a bit firmer as they cool. Overbaking will make them dry and crumbly.
For Extra Chewiness:
If you have time, chilling the dough for about an hour before shaping and baking can make them even chewier and a little thicker.
Flavor Variations:
- Vegan Swap: Swap the large egg for a flax egg (mix 1 tablespoon ground flaxseed with 3 tablespoons water, let it sit for 5 minutes) or a chia egg (mix 1 tablespoon chia seeds with 3 tablespoons water, let it sit for 5 minutes). Just double-check that your protein powder is vegan too.
- Oatmeal Protein Cookies: Stir in 1/2 cup of rolled oats with your other ingredients. Sprinkling a few oats on top before baking is a nice touch.
- Chocolate Protein Cookies: Use chocolate-flavored protein powder and maybe add 1/4 to 1/2 cup of unsweetened cocoa powder (you might need a tiny splash of milk if the dough gets too dry).
- Birthday Cake: Gently fold in 1/4 to 1/2 cup of rainbow sprinkles right at the end of mixing for a fun, festive vibe.
- Other Nut Butters: Smooth almond butter, cashew butter, or sunflower seed butter work great instead of peanut butter. Just make sure they have that same smooth, drippy texture.
Storage:
Once they’re completely cooled, keep your cookies in an airtight container at room temperature for up to two weeks. For longer storage, pop them in the fridge.
Freezing:
Put cooled cookies in a zip-top freezer bag or airtight container. They can hang out in the freezer for up to 6 months. You can thaw them at room temp or even nibble them straight from the freezer!
Nutrition Information (per cookie, estimated):
- Calories: 150 kcal
- Protein: 21g
- Fat: 8g
- Carbohydrates: 5g (Net Carbs: 4g)
(Note: Nutrition will vary based on the specific ingredients you use, especially the type of protein powder and sweetener).
Hope you love this easy and satisfying protein cookies recipe! Pin it and share it with anyone looking for a tasty protein boost!
Read more:
How to make Pie Crust Recipe Using Crisco
How to Make Perfect Cottage Cheese Flatbread
How to Make Perfect Southern Hoe Cakes (Johnny Cakes)
Quick Q&A About These Protein Cookies:
Are protein cookies actually healthy?
They can be a healthier treat option than traditional cookies, offering more protein and often fiber, but moderation is still key as they contain sugars and fats.
How do you add protein to cookies?
The easiest way is by incorporating protein powder directly into the dough alongside flour and other dry ingredients.
Can I use protein powder instead of flour for cookies?
You generally can’t replace all the flour with protein powder, as it behaves differently and can make cookies very dry or dense; it’s best used as a partial substitute or addition.
What is the best protein powder for cookies?
Whey protein powder (isolate or concentrate) is often preferred for baking due to its texture and mild flavor, but plant-based blends can also work with potential minor adjustments.

Delicious and Easy Protein Cookies Recipe
Equipment
- 1 Small mixing bowl Optional
- 1 Mixing spoon
- 1 Baking sheet Line with parchment paper
Ingredients
- 1 cup peanut butter Use smooth nut or seed butter.
- 2/3 cup brown sugar substitute Or any granulated sweetener.
- 1 large Egg For eggless option, use 3 tablespoons ground chia seed.
- 1/2 cup vanilla protein powder
- ¼ cup chocolate chips optional
Instructions
- Preheat the oven to 180C/350F. Line a cookie sheet or baking tray with parchment paper and set aside.
- In a small mixing bowl, combine all your ingredients and mix until combined.
- Using your hands, form 12 balls of cookie dough and place them on the lined sheet. Press down on each cookie to form a cookie shape. Bake the cookies for 12-14 minutes, or until the edges begin to brown.
- Remove from the oven and let cool on the baking sheet completely.
Notes
- Tips: Do not overbake the cookies; they continue to cook as they cool down. For thicker and chewier cookies, refrigerate the dough for an hour before baking (optional). Be sure you like the taste of your protein powder, as the flavor will come through.
- Storage: Leftover cookies can be stored at room temperature, in an airtight container, for up to 14 days. If you’d like them to keep longer, store them in the refrigerator.
- Freezing: Place leftovers in a ziplock bag and store them in the freezer for up to 6 months.


4 Comments
Comments are closed.