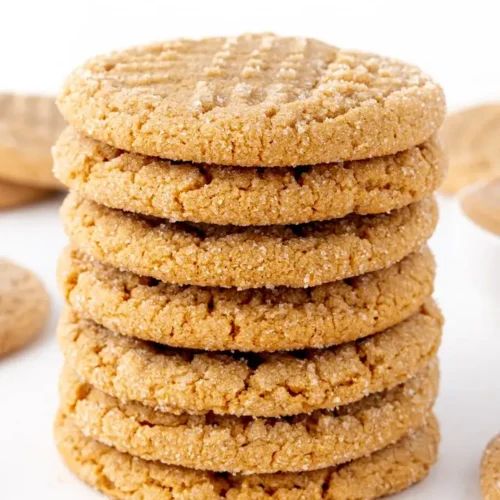
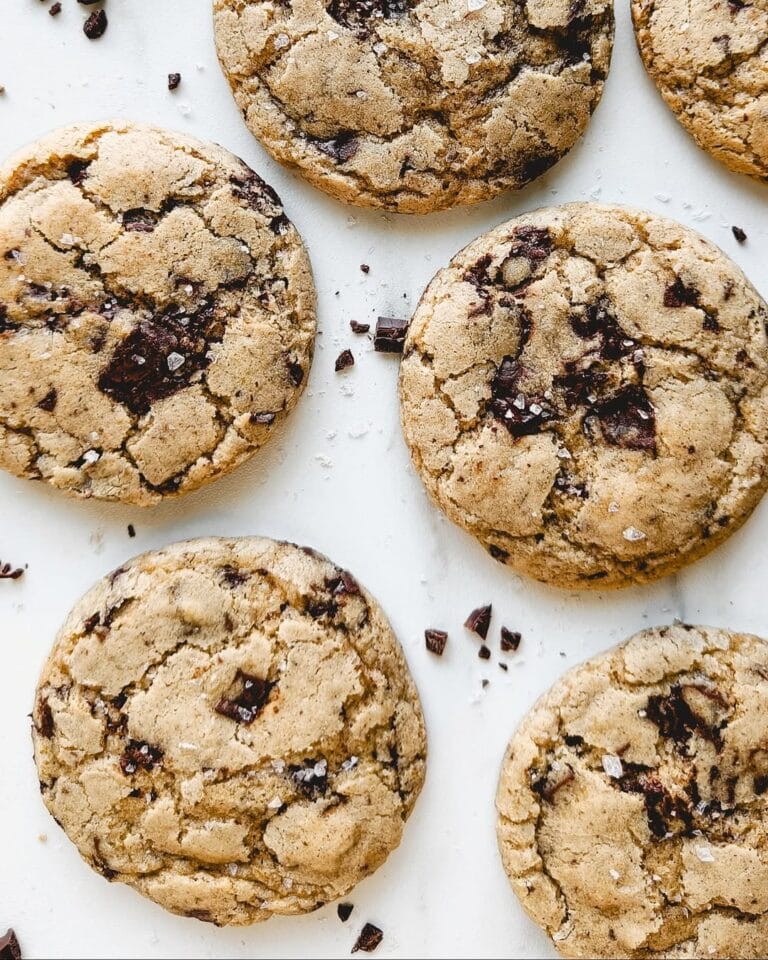
Easy Chewy Peanut Butter Cookies (Ready in 30 Mins!)

Okay, seriously, is there anything better than warm, chewy peanut butter cookies? These are so simple to whip up, maybe 30 minutes total, and taste absolutely divine! Simple yet so satisfying, you’ll get the softest, most delicious peanut butter cookies ever, promise! Everyone loves these classic treats.
Table of Contents
Chewy Peanut Butter Cookies Recipe Details:
- Prep Time: 10 minutes
- Cook Time: 8-9 minutes
- Additional Time: 15 minutes cooling
- Total Time: Approximately 33 minutes
- Yield: About 20 cookies
Ingredients You’ll Need for Perfect Peanut Butter Cookies
Here’s everything you need to gather:
- 1/2 cup unsalted butter (That’s 1 stick, make sure it’s softened!)
- 3/4 cup creamy peanut butter (The regular shelf-stable kind works best!)
- 3/4 cup brown sugar (Packed!)
- 1/4 cup white granulated sugar
- 1 large egg
- 1 1/2 teaspoons pure vanilla extract
- 1 1/3 cups unbleached all-purpose flour
- 3/4 teaspoon baking soda
- 1/2 teaspoon baking powder
- Sea salt (Optional, but oh-so-good for sprinkling!)
How to Make The Best Chewy Peanut Butter Cookies
Follow these easy steps, and you’ll be enjoying amazing peanut butter cookies in no time!
Step One: Get Ready!
First things first, get that oven heating up to 350 degrees F! And grab a baking sheet – line it with parchment paper, it makes cleanup a breeze!
Step Two: Mix the Wet Stuff!
Pop your stick of butter in the microwave for about 20 seconds – just until it’s softened, not melted! Add that yummy peanut butter, brown sugar, and white sugar to the bowl and mix it all up with a mixer (or by hand!) until it’s nice and smooth.
Step Three: Add Egg and Vanilla!
Now, crack in your egg and add the vanilla extract. Keep mixing until everything looks creamy and totally combined! Don’t you just love the smell already?
Step Four: Add the Dry Stuff!
Okay, time for the dry ingredients! Gently stir in the flour, baking soda, and baking powder. Mix on low speed or gently by hand – just until it comes together into a lovely dough for our peanut butter cookies. Be careful not to overmix!
Step Five: Scoop ’em Up!
Use a cookie scoop (about 2 tablespoons worth is great) or just roll the dough into little balls with your hands. Place them on your prepared baking sheet, leaving some space between them so they can bake perfectly.
Step Six: Make the Crisscross!
Here’s the fun part! Grab a fork and gently press down on top of each dough ball, then turn the fork 90 degrees and press again to make those classic crisscross marks on your peanut butter cookies. This little step helps them bake evenly since they don’t spread a lot on their own! If you’re using it, sprinkle a little sea salt on top right now – yum!
Step Seven: Bake ’em!
Time to bake! Pop the baking sheet into your preheated oven for about 8-9 minutes. Now, listen carefully: they might look a little pale or seem slightly under-baked when you pull them out. That’s PERFECT! Trust me! They’ll finish setting up as they cool. Overbaking is the enemy of chewy peanut butter cookies!
Step Eight: Cool and Enjoy!
Let the cookies cool right there on the baking sheet for a good 15 minutes. This is super important for them to set properly! After 15 minutes, you can move them to a wire rack to cool completely. Then… enjoy your amazing homemade peanut butter cookies!
Tips for Perfect Peanut Butter Cookies!
Here are a few extra hints to make your peanut butter cookies the best ever:
Why the Fork Marks?
I get asked this a lot! Since these peanut butter cookies are nice and thick thanks to all that yummy peanut butter, they don’t spread out like some other cookies. Pressing them gently with a fork helps them bake all the way through evenly. Plus, let’s be honest, it looks super cute and classic!
Which Peanut Butter is Best?
For the chewiest, softest results, stick with regular creamy peanut butter like Jif or Skippy. Natural peanut butters can sometimes make the cookies a bit dry or crumbly. Chunky can work if you like the texture, but you might need to add a tiny bit extra (like maybe 1/4 cup more) to make up for the peanut pieces.
Butter Matters!
I really find using real, unsalted butter gives the best flavor and texture for these cookies. Try to avoid shortening or margarine if you can! Just soften it slightly, don’t fully melt it.
Measuring Flour Trick
Quick tip! Instead of scooping your measuring cup directly into the flour bag (which can pack it down), try spooning the flour into the measuring cup. Then just level it off with a straight edge. It helps get the amount just right for tender cookies!
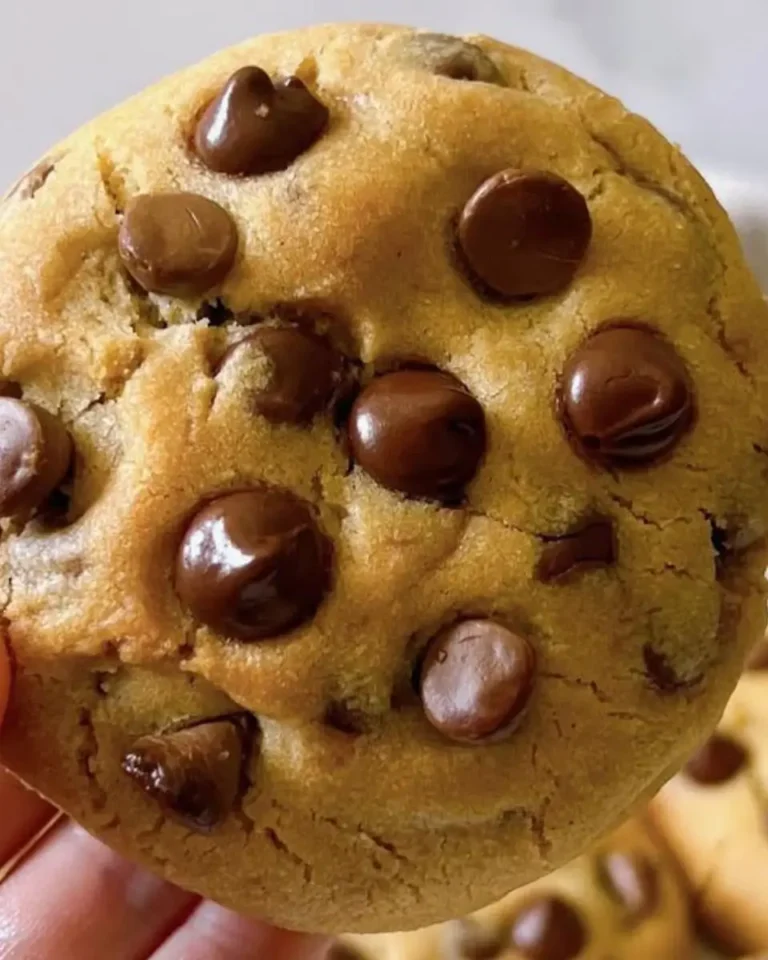
Want to Mix it Up?
Peanut butter and chocolate are basically best friends, right? Feel free to:
- Add a handful of chocolate chips to the dough!
- Drizzle melted chocolate over the cooled cookies.
- Dip half of each cooled cookie in melted chocolate.
If you’re a chocolate lover like me, you should also check out these super simple easy chocolate biscuits – they’re a breeze! Or, for another classic, you have to try my go-to Chocolate Chip Cookies recipe!
Storage Smarts
Keep your leftover peanut butter cookies in an airtight container at room temperature. They’ll stay fresh for a few days (though honestly, they usually disappear faster than that in my house!).
Can You Freeze Them?
Yes, absolutely! Both the dough and the baked cookies freeze really well.
- Dough: Roll into balls, place on a baking sheet to freeze solid, then transfer to a freezer bag for up to 3 months. Let thaw slightly before baking (you might need an extra minute or two in the oven).
- Baked Cookies: Let them cool completely, then store in a freezer-safe bag or container with parchment paper between layers. They’ll keep for up to 3 months. Just thaw at room temp when ready to eat!
Looking for a Protein Boost?
While these are my favorite classic comfort peanut butter cookies, if you’re sometimes looking for a treat with a bit more protein punch, you might like to explore this great protein cookies recipe too!
Love these peanut butter cookies? I’d be thrilled if you’d Pin this recipe on Pinterest or share it with your friends! Let me know how they turn out in the comments below!
Frequently Asked Questions About Peanut Butter Cookie:
What causes peanut butter cookies to fall apart?
Usually, it means the dough was a bit too soft – maybe a little too much butter, or not quite enough flour measured correctly.
Should you refrigerate peanut butter cookie dough before baking?
Nope, not for this recipe! That’s one of the things I love – no chilling required, so you get your yummy peanut butter cookies faster!
Are peanut butter cookies sativa or indica?
Haha, that’s funny! While these peanut butter cookies will definitely make you happy, they’re the traditional yummy baked goods kind, not that kind!
Do you put flour in peanut butter cookies?
Yes, absolutely! Flour is essential – it gives these delicious peanut butter cookies their structure and keeps them from being just a pile of peanut butter goo!
Easy Chewy Peanut Butter Cookies
Equipment
- 1 Large Mixing Bowl
- 1 Medium Mixing Bowl For dry ingredients
- 1 Electric mixer Stand or handheld, optional (can mix by hand)
- 1 Set Measuring Cups
- 1 Set Measuring Spoons
- 1+ Baking sheets
- 1 Roll Parchment paper
- 1 Cookie scoop Optional, approx. 2 Tbsp size
- 1 Fork
- 1 Wire cooling rack
- 1 Microwave For softening butter
Ingredients
- 1/2 cup unsalted butter 1 stick, softened
- 3/4 cup creamy peanut butter Regular, shelf-stable recommended recommended
- 3/4 cup brown sugar Packed
- 1/4 cup white granulated sugar
- 1 large egg
- 1 1/2 tsp pure vanilla extract
- 1 1/3 cups unbleached all-purpose flour
- 3/4 tsp baking soda
- 1/2 tsp baking powder
- Sea salt Optional, for sprinkling
Instructions
- Get Ready! Preheat oven to 350°F (175°C). Line a baking sheet with parchment paper.
- Mix the Wet Stuff! Soften butter in microwave (about 20 seconds). Add peanut butter, brown sugar, and white sugar to a large bowl. Mix with a mixer or by hand until smooth.
- Add Egg and Vanilla! Beat in the egg and vanilla extract until creamy and fully combined.
- Add the Dry Stuff! In a separate medium bowl, whisk together the flour, baking soda, and baking powder. Gradually add the dry ingredients to the wet ingredients, mixing on low speed or by hand just until combined. Do not overmix.
- Scoop ’em Up! Scoop dough using a 2-tablespoon cookie scoop or roll into balls. Place onto the prepared baking sheet, leaving about 2 inches between cookies.
- Make the Crisscross! Gently press down on the top of each dough ball with a fork, then turn the fork 90 degrees and press again to create a crisscross pattern. Sprinkle with sea salt, if desired.
- Bake ’em! Bake for 8-9 minutes. Cookies will look slightly pale and under-baked; this is key for chewiness! They will continue to set as they cool.
- Cool and Enjoy! Let cookies cool on the baking sheet for 15 minutes before transferring them to a wire rack to cool completely.
Notes
- Why the Fork Marks? Since these cookies are thick, pressing them gently helps them bake evenly and gives them that classic look!
- Which Peanut Butter is Best? Regular creamy peanut butter (like Jif/Skippy) works best for soft, chewy results. Natural PBs can be crumbly.
- Butter Matters! Use real, unsalted butter (softened, not melted) for the best flavor and texture.
- Measuring Flour Trick: Spoon flour into your measuring cup and level it off, rather than scooping directly from the bag, for accuracy.
- Want to Mix it Up? Add chocolate chips, drizzle with melted chocolate, or dip cooled cookies! Check out these easy chocolate biscuits, my classic Chocolate Chip Cookies, or a hearty protein cookies recipe for more ideas!
- Storage Smarts: Store cooled cookies in an airtight container at room temperature for several days.
- Can You Freeze Them? Yes! Freeze baked cookies (layered with parchment) or dough balls for up to 3 months.


One Comment
Comments are closed.